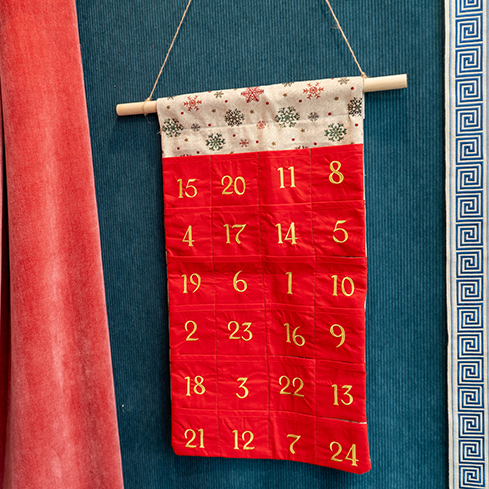
What you will need:
What you will need:
- String
- Dowel
- Thread
- Scissors
- Sewing Machine
- Iron
- Embroidery Machine
- Interlining
- Chalk
- Fabric
- Ruler
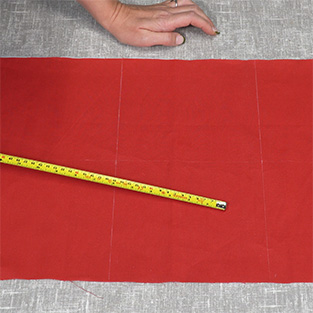
Step 1:
To start, you need to make 24 pockets, 10cm x 10cm and sit on 6 rows with 4 pockets on each one. Make sure you add a 1cm seam allowance at the bottom, left and ride of the rows. The rows will need to be 42cm x 11cm. Firstly, cut out your rows in pairs.
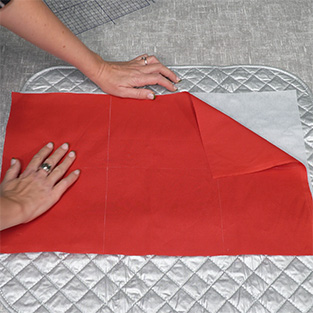
Step 2:
Secondly, cut out and iron the interfacing onto the back of the pockets.
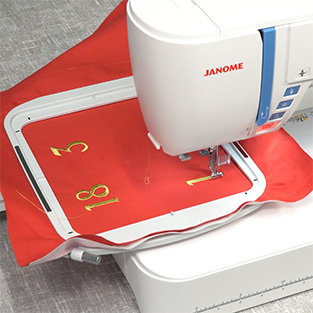
Step 3:
Next, in the centre of each of the pockets add your numbers. We added our numbers using an embroidery machine, but this can be done depending on your style preference.
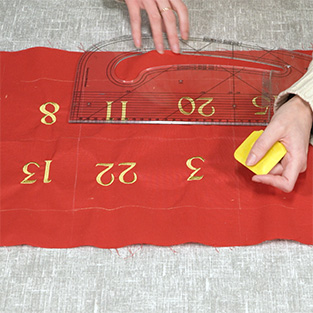
Step 4:
Once your numbers are complete, use chalk to mark out each 10cm x 10cm square, making sure to include the 1cm seam allowance.
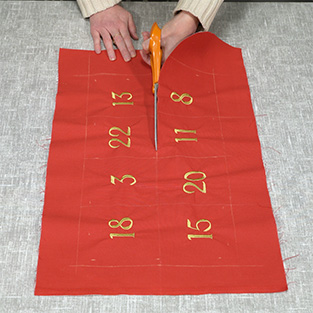
Step 5:
Now, separate your pockets into six rows and cut them out. Then, pin your binding to the top of your row and sew neatly to the edges, starting at the front and sewing at the back.
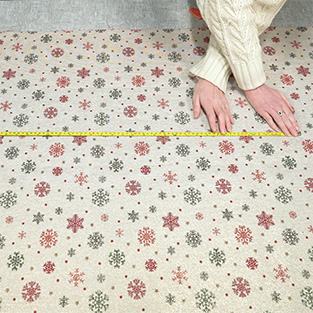
Step 6:
Afterwards, cut out 2 pieces of the backing fabric, 24cm x 85cm and attach all of the number strips to the backing fabric facing down, except the bottom row.
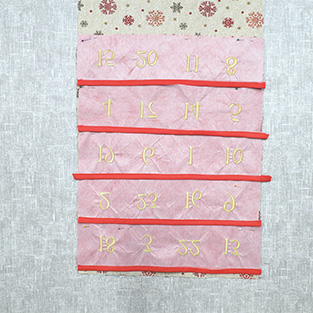
Step 7:
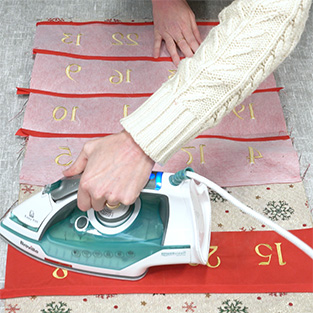
With the right sides facing, place the first strip upside down, so the top of the pocket is roughly 1cm above the base. Next, stack 4 of the rows in the same orientation as the first and move them down 1cm for the seam allowance to create an overlap.
Step 8:
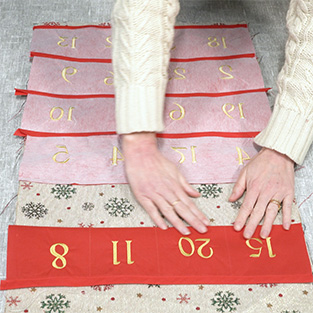
After this, pin the strips into place and sew the strips along the pinned edges and press upwards.
Step 9:
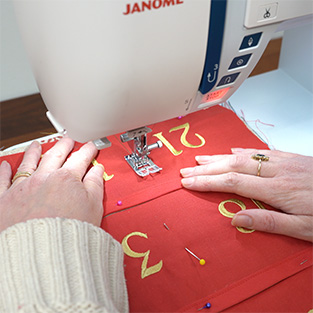
Next, pin the pockets into place and on the final bottom strip along the bottom of the fabric. Unlike the other strips, the bottom strip is pinned in the correct orientation.
Step 10:
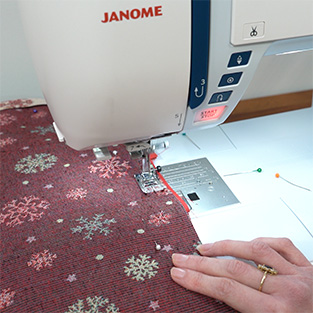
Next, sew vertical lines along the marks for each separate pocket.
Step 11:
Once your pockets are sewn, hem the top edges of the backing and main fabric, pin in place and sew.
Step 12:
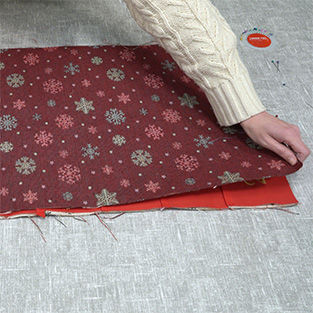
Now, get your second piece of backing fabric and place it over the top of your advent calendar and pin it into place. Sew along the 2 sides and the bottom with a 1cm seam allowance. Once sewn, cut off the corners to avoid bulking and create sharp corners.
Step 13:
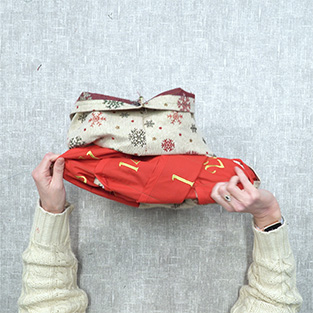
Turn your advent calendar inside out and iron to ensure all your pockets sit as desired.
Step 14:
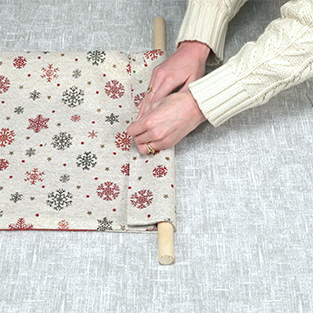
With the back facing you, grab your dowel and fold over to create a channel. Pin your fabric in place, remove your dowel and sew.


